Set Up a CI/CD Pipeline for An Angular 7 Application From Azure DevOps to AWS S3 - Part 2
The second part of this tutorial finishes the series by walking you through the rest of the process of setting up a CI/CD pipeline for an Angular app.
Join the DZone community and get the full member experience.
Join For FreeIn the previous tutorial, we looked at how we can set up the CI part for an angular application on Azure DevOps and configured the AWS S3 bucket to host our built code. Now we are going to look into how we can deploy the code built from the pipeline to an AWS S3 bucket.
This part of the article is broadly divided in further 2 parts.
- Getting the necessary credentials to deploy the code from CLI which we previously installed during the CI part.
- Configuring the CD pipeline for the deployment of code.
Let's get started.
You may also enjoy: Set Up a CI/CD Pipeline for An Angular 7 Application From Azure DevOps to AWS S3
Getting the CLI Credentials from AWS
- Login to your AWS account.
- From the services menu go to IAM
- Under IAM Resources, select users and click on Add User button
- Give a name you want to the user and in Access type, check the box which says "programmatic access"
- Click on the Next: Permissions button
- On the Permissions screen click on create group and search for AmazonS3FullAccess also don't forget to give a name to the group.
- Now proceed with the screens and if you want to add more information, you can add that in the further screens (not necessary in this example).
- At the end of the wizard, you will see that a user has been created and there would be an option to download a .CSV of the credentials. Download the .CSV file containing the CLI Credentials for the user which we just created
Configuring the CD Pipeline for The Deployment of Code
- Navigate to releases under pipelines for your project in Azure DevOps.
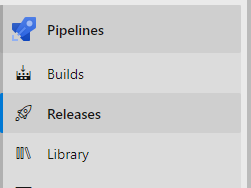
Navigate to pipelines - Click on New and select New release pipeline
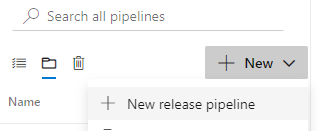
New release pipeline - Click on Empty Job when it shows a list of already existing templates

Empty Job - Give a name to the pipeline and a name to the stage according to the environment for which the stage will be executed
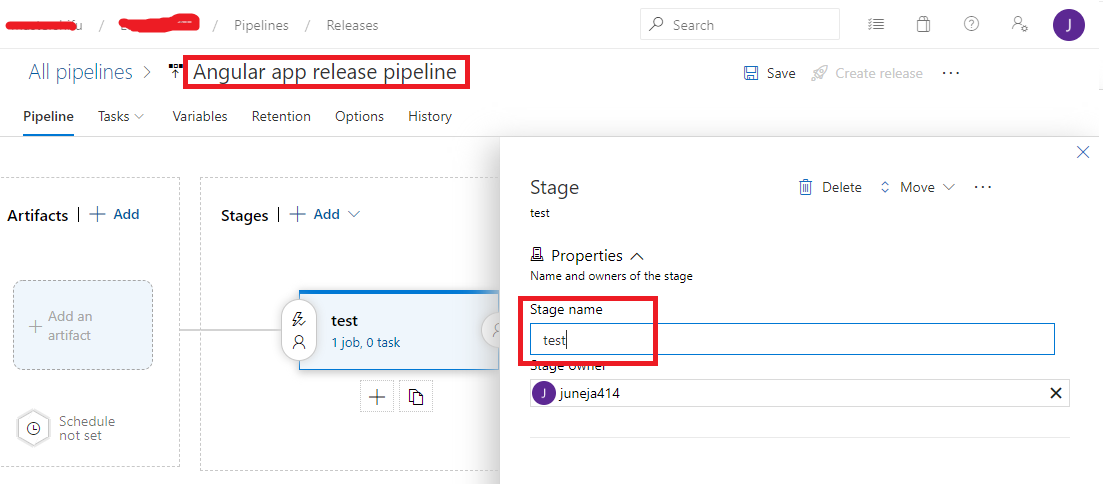
Stage name - Click on Add an artifact option in the left
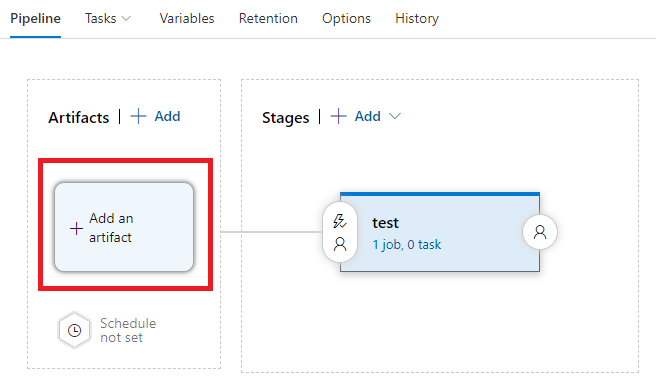
Adding an artifact - In the Source dropdown, select the name of the CI pipeline which we configured in the previous article. Click on Add.
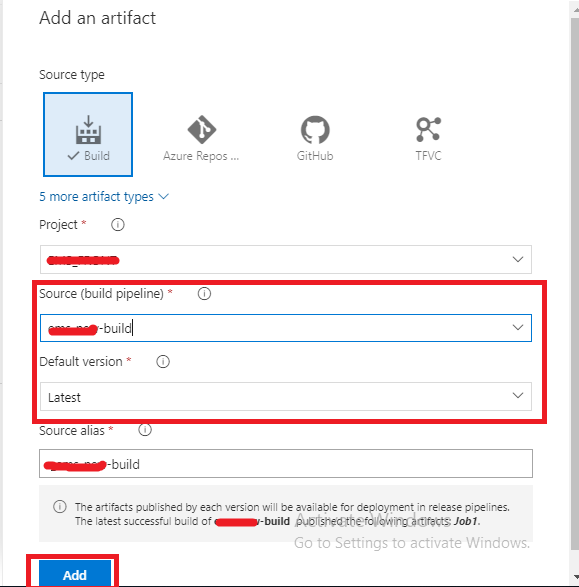
Source dropdown - Under the stage which we created in step 4, click on "1 job, 0 task" to configure the stage.
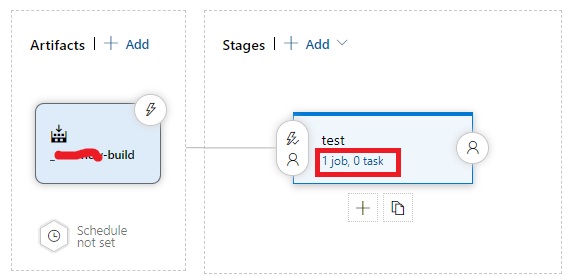
1 Job, 0 task - Click on Add a task to the Agent job (+) icon.

Add agent job - Search for Amazon S3 upload and you will see a task in the list with the same name. Add this task for the agent.
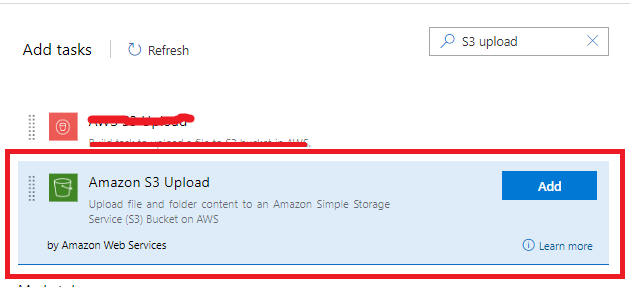
Amazon S3 upload - When configuring this task, you will be asked for the CLI credentials. Click on the New button.
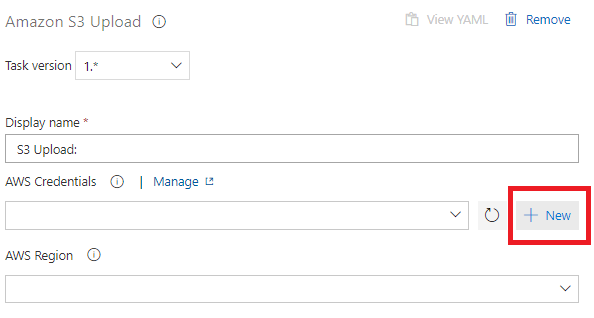
New upload - Enter the Access Key ID and Secret Access Key from the CSV file which we downloaded from AWS after creating the S3 User. You would also be required to give this service a name in the details section at the bottom of this form. Once all the information is in place, you can save the credentials.
- Click on the refresh icon on the left of the +New button from the above image and you can see the credential listed in the drop-down for AWS Credentials.
- From the region drop-down, select the region in which you configured the S3 bucket in AWS.
- Enter the name of the bucket which you created for the Bucket name.
- In the source folder, click on the three dots and select the folder in which your code was built by the build agent which we configured in the previous article.
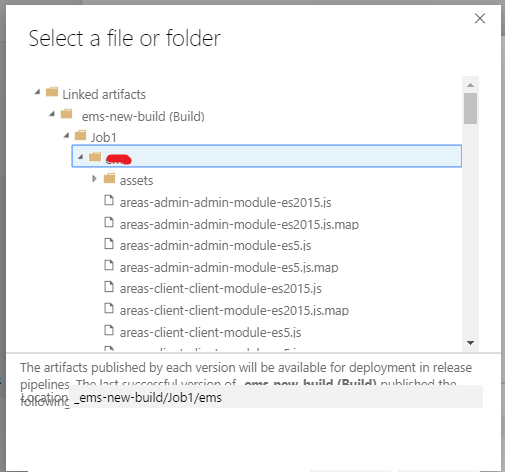
Select a file - Under filename patterns put - "**/**" without the double quotes.
- In ACL, choose public read.
- Click on save at top and once the CD pipeline is saved, click on create release to release the code on AWS S3 bucket.
Let this task be completed and use the URL provided in S3 bucket's properties-> static website hosting to view the website we just deployed to AWS S3 from Azure DevOps.
If you face any issue while configuring this part, do let me know in the comment section below.
I hope this post was helpful and that you learned something new today. Thank you for reading and happy coding.
Further Reading
Learn How to Set Up a CI/CD Pipeline From Scratch
Deploying a Node.js/Angular 5 Application to Kubernetes with Docker
Opinions expressed by DZone contributors are their own.

Comments